Woodworking Joints Guide: 8 Essential Joints Every Beginner Should Know
A comprehensive guide to 8 fundamental woodworking joints. Learn when to use each joint, how to cut them, and which tools you need. From butt joints to dovetails.
Why Joints Matter
Woodworking is, at its core, the art of connecting pieces of wood. You can cut boards to perfect dimensions and sand them glass-smooth, but if your joints are weak, sloppy, or wrong for the application, the project won’t last. A good joint is strong, appropriate for the load it carries, and — in the best cases — beautiful enough to be a design feature rather than something you hide.
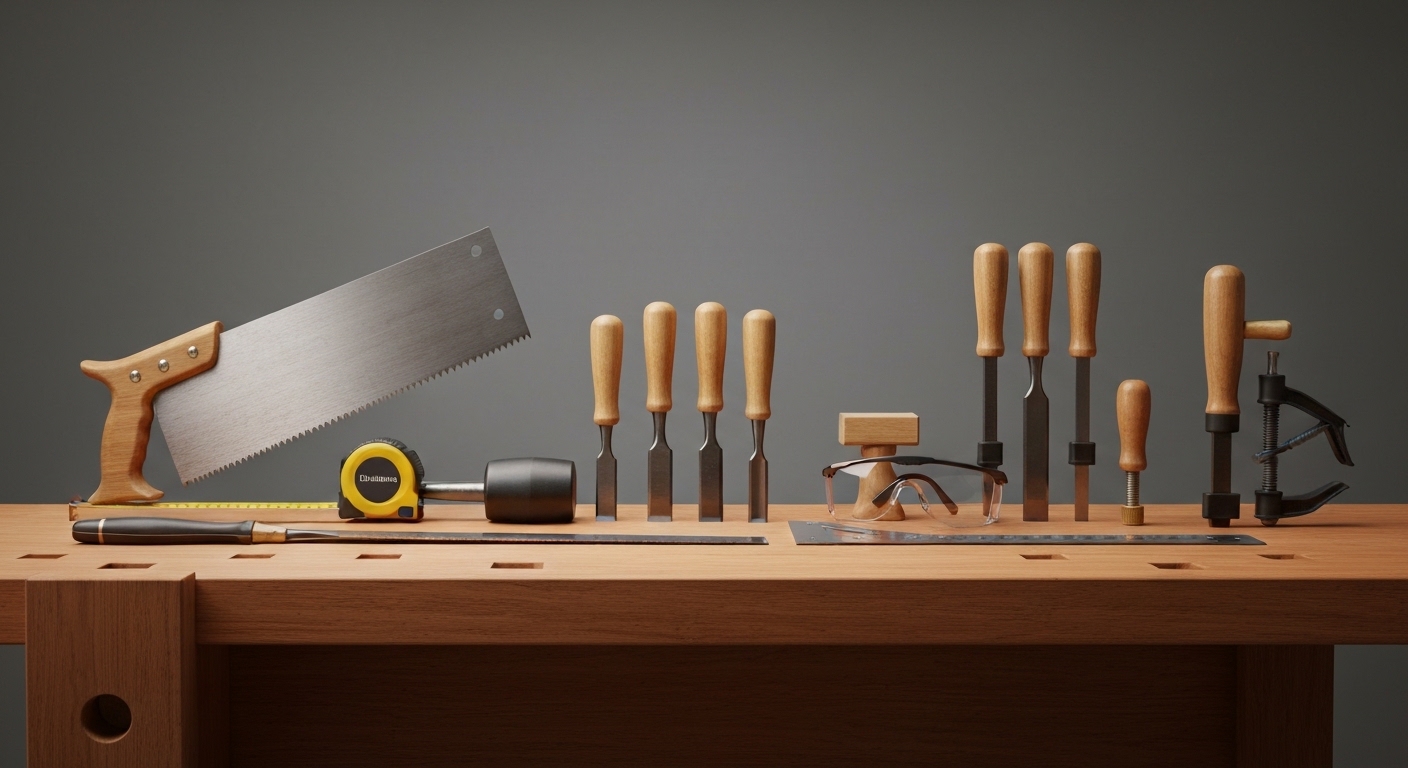
This guide covers the eight most important joints in woodworking, arranged from simplest to most complex. Each one has its place, and understanding when to use which joint is just as important as knowing how to cut it.
1. Butt Joint
The simplest joint in woodworking: two pieces of wood placed end-to-end or end-to-face, held together with glue, screws, or nails. No shaping, no interlocking — just two flat surfaces meeting each other.
When to Use It
- Quick utility projects (shop jigs, storage boxes, garden beds)
- Rough construction where appearance doesn’t matter
- Any situation where speed is more important than elegance
How to Make It
- Cut both pieces square and flat where they meet.
- Apply wood glue to both mating surfaces.
- Clamp the pieces together or drive screws/nails to hold them while the glue dries.
Strength
A glued butt joint where long grain meets long grain (edge-to-edge) is surprisingly strong — often stronger than the wood itself. But an end-grain butt joint (the end of one board meeting the face of another) is very weak because end grain absorbs glue like a sponge and doesn’t bond well.
Pro tip: If you must use an end-grain butt joint, reinforce it with screws, pocket holes, dowels, or a biscuit. The mechanical fastener does the heavy lifting, not the glue.
Tools Needed
- Saw (any type)
- Drill/driver (for screws)
- Clamps
- Square
2. Pocket Hole Joint
A pocket hole joint is essentially a reinforced butt joint. You drill an angled hole through one piece and drive a self-tapping screw through that hole into the second piece. The Kreg jig system made this joint accessible to beginners, and it’s become one of the most popular methods for building cabinets, face frames, and furniture.
When to Use It
- Cabinets and face frames
- Table aprons to tabletop connections
- Anywhere you need a strong, fast joint that will be hidden
- Plywood construction where traditional joinery is impractical
How to Make It
- Set your Kreg Pocket Hole Jig to the correct thickness setting.
- Clamp the jig to the back or hidden side of one workpiece.
- Drill the pocket hole(s) using the special stepped drill bit.
- Apply glue to the mating surfaces (optional but recommended).
- Clamp the pieces in position and drive the special pocket hole screws.
Strength
Very strong, especially in plywood and face-frame construction. The angled screw creates both a mechanical connection and a clamping force that draws the joint tight. Not as strong as a mortise and tenon in solid wood, but more than adequate for most furniture.
Tools Needed
- Pocket hole jig
- Drill/driver
- Pocket hole screws
- Clamp
Pro tip: The Kreg 720PRO is the best all-around pocket hole jig for most woodworkers. It auto-adjusts to material thickness and clamps in one motion.
3. Dowel Joint
A dowel joint uses cylindrical wooden pins (dowels) inserted into matching holes in both pieces. The dowels reinforce the joint, add alignment, and dramatically increase glue surface area compared to a simple butt joint.
When to Use It
- Edge-to-edge panel glue-ups
- Frame construction (where you don’t want visible screws)
- Cabinet and furniture assembly
- Anywhere you need an invisible joint with moderate strength
How to Make It
- Mark the dowel locations on both pieces using a doweling jig for alignment.
- Drill holes slightly deeper than half the dowel length in each piece.
- Apply glue to the holes and the dowel surfaces.
- Insert the dowels, assemble the joint, and clamp.
Strength
Stronger than a butt joint, roughly comparable to a pocket hole joint. The dowels provide excellent resistance to shearing forces. Fluted dowels (the kind with grooves) are best — the grooves let trapped glue and air escape.
Tools Needed
- Doweling jig
- Drill with brad-point bit matching your dowel diameter
- Fluted dowels (3/8” is the most common size)
- Clamps
4. Biscuit Joint
A biscuit joint uses a small, football-shaped piece of compressed wood (the biscuit) inserted into matching slots cut by a biscuit joiner (plate joiner). The biscuit swells when it contacts the glue, locking the joint tight.
When to Use It
- Edge-to-edge panel glue-ups (the primary use)
- Aligning shelf pieces
- Mitered corner joints
- Anywhere you need quick alignment rather than raw strength
How to Make It
- Mark the biscuit locations on both pieces.
- Set the biscuit joiner to the correct biscuit size (#0, #10, or #20).
- Cut matching slots in both pieces.
- Apply glue to the slots and the biscuit, assemble, and clamp.
Strength
Biscuits add alignment more than strength. In an edge-to-edge glue-up, the long-grain glue bond is already stronger than the wood — the biscuits just keep the pieces from sliding around during clamping. For end-grain joints, biscuits add moderate reinforcement.
Tools Needed
- Biscuit joiner (plate joiner)
- Biscuits (#20 is the most versatile size)
- Clamps
5. Dado Joint
A dado is a square-bottomed groove cut across the grain of one piece, into which a second piece (like a shelf) fits. It’s one of the most useful joints in cabinetmaking and bookshelf construction because it provides mechanical support — the shelf literally sits in a channel.
When to Use It
- Bookshelves (fixed shelves sit in dadoes)
- Cabinets (dividers and shelves)
- Drawer construction
- Any situation where one piece needs to intersect another at a right angle
How to Make It
With a router:
- Clamp a straight-edge guide across the workpiece at the correct position.
- Set the router bit depth to 1/4 to 1/3 the thickness of the board.
- Rout the dado in one or two passes, using the guide to keep the cut straight.
With a table saw and dado blade set:
- Install the dado blade set and stack it to match the thickness of the mating piece.
- Set the blade height to 1/4 to 1/3 the board thickness.
- Guide the board through the blade using the miter gauge.
Strength
Excellent for supporting loads perpendicular to the joint. A glued dado can support significant weight because the load is carried by the mechanical interlocking, not just the glue bond.
Pro tip: A “stopped dado” — one that doesn’t run all the way to the front edge of the piece — hides the joint from view while maintaining full strength. Stop the dado about 1/2” from the front edge and notch the shelf piece to fit.
Tools Needed
- Router with straight bit, or table saw with dado blade set
- Straight-edge guide (for router method)
- Clamps
6. Rabbet Joint
A rabbet (sometimes spelled “rebate”) is a step-shaped cut along the edge or end of a piece. When another piece sits into that step, you have a rabbet joint. Think of it as half a dado — the groove is on the edge rather than in the middle of the board.
When to Use It
- Back panels on cabinets and bookcases
- Drawer construction (overlapping corners)
- Picture frames
- Any joint where you want a recessed, overlapping connection
How to Make It
With a router:
- Install a rabbeting bit with the appropriate bearing for your desired rabbet width.
- Set the depth of cut.
- Rout along the edge of the piece. The bearing guides the cut.
With a table saw:
- Set the blade height to the rabbet depth.
- Set the fence to the rabbet width.
- Run the piece face-down through the blade.
- Reposition the piece and make the second cut to complete the step.
Strength
Moderate. The rabbet provides more glue surface area than a butt joint and offers some mechanical interlocking. For back panels, the rabbet keeps the panel from pushing through and ensures a clean, flush appearance.
Tools Needed
- Router with rabbeting bit, or table saw
- Clamps
7. Mortise and Tenon
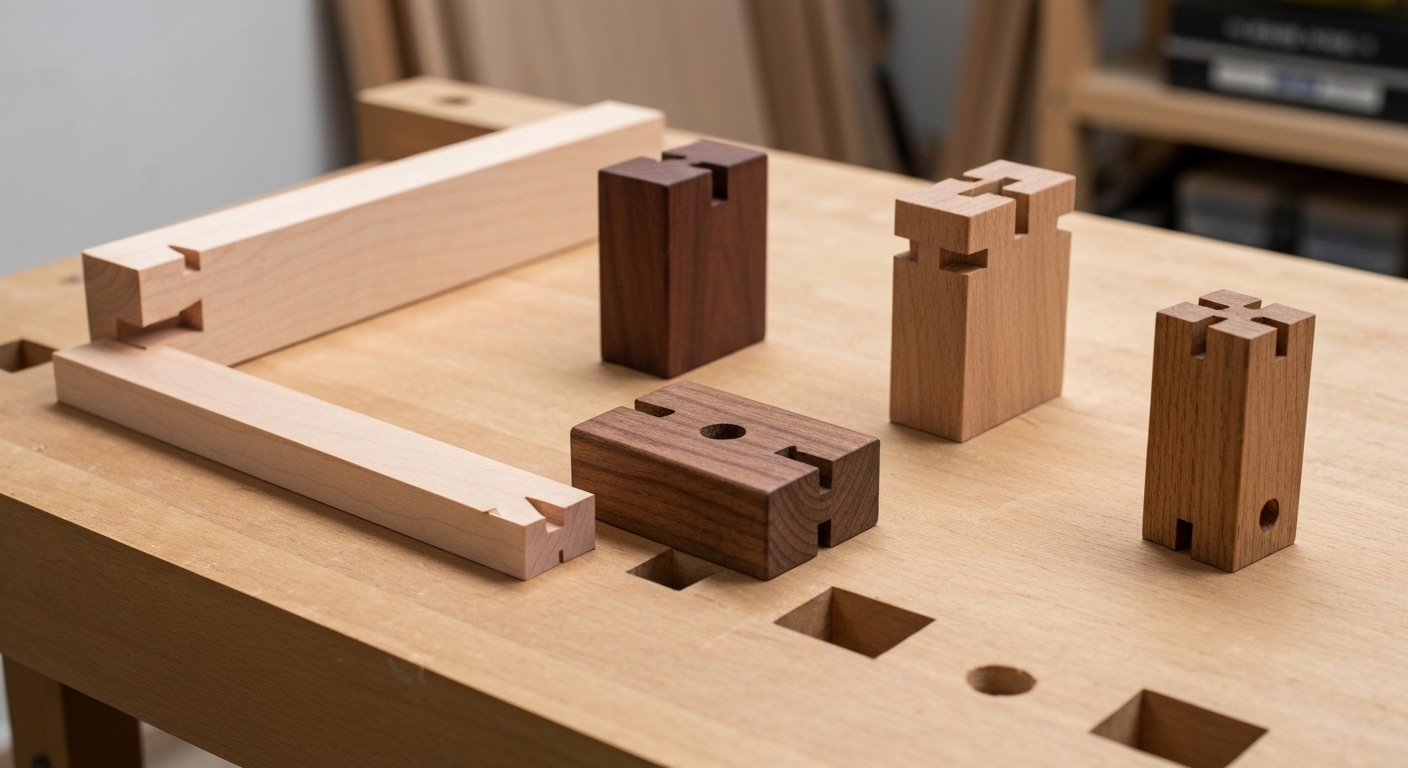
The mortise and tenon is the backbone of furniture-making and has been for thousands of years. A tenon (a projecting tongue) is cut on one piece and inserted into a mortise (a matching rectangular hole) in the other. When done well, the joint is incredibly strong and can last centuries.
When to Use It
- Table and chair construction (legs to aprons)
- Door and window frames
- Frame-and-panel construction
- Any joint that needs to resist racking, pulling, and twisting forces
How to Make It
Cutting the mortise:
- Mark the mortise dimensions on the workpiece. Traditionally, the mortise is 1/3 the thickness of the wood and centered.
- Drill out the bulk of the waste using a drill press or hand drill with a Forstner bit.
- Square up the walls and ends with a sharp chisel.
Cutting the tenon:
- Mark the tenon to match the mortise exactly.
- Cut the cheeks (the flat faces) on a table saw using a tenoning jig, or by hand with a backsaw.
- Cut the shoulders (the perpendicular cuts that create the tenon’s length).
- Test the fit — it should slide in with hand pressure but not be loose.
Assembly:
- Apply glue to the mortise walls and tenon cheeks.
- Insert the tenon and clamp.
- Check for square before the glue sets.
Strength
The strongest joint in woodworking. The long-grain-to-long-grain glue surfaces combined with the mechanical interlocking create a joint that is typically stronger than the surrounding wood. Chairs and tables built with mortise-and-tenon joints last generations.
Tools Needed
- Chisel set
- Drill press or hand drill with Forstner bits
- Backsaw or table saw with tenoning jig
- Clamps
- Marking gauge
Pro tip: If you make a lot of mortise-and-tenon joints, a benchtop mortiser is a worthwhile investment. It cuts clean, square mortises in a fraction of the time.
8. Dovetail Joint
The dovetail is the showpiece of woodworking joints. The interlocking fan-shaped “tails” and “pins” create a joint that is mechanically self-locking — it physically cannot pull apart in one direction. Beyond strength, dovetails are beautiful, and visible dovetails on a drawer or box signal craftsmanship.
When to Use It
- Drawer construction (the traditional application)
- Decorative boxes and jewelry boxes
- Case construction (blanket chests, tool chests)
- Anywhere you want to showcase your joinery skills
Types of Dovetails
- Through dovetail: Visible from both sides. The classic look.
- Half-blind dovetail: Visible from one side only. Used on drawer fronts where you don’t want to see end grain from the front.
- Sliding dovetail: A dovetail-shaped groove and matching tongue. Functions like a dado but with a mechanical lock. Used for shelves and drawer dividers.
How to Make It (Through Dovetail by Hand)
- Mark the baseline on both pieces using a marking gauge set to the thickness of the mating board.
- Lay out the tails on one piece. Mark the angle (typically 1:6 for softwood, 1:8 for hardwood) and the spacing.
- Cut the tails with a dovetail saw, cutting on the waste side of your lines.
- Remove the waste between tails with a coping saw, then pare to the baseline with a sharp chisel.
- Use the completed tails as a template to mark the pins on the mating piece.
- Cut and chisel the pins.
- Test fit — the joint should go together with firm hand pressure. Tap with a mallet if needed.
Strength
Extremely strong — the joint is mechanically locked against pulling forces. Combined with glue, a dovetail joint will outlast the furniture it’s part of. It’s the gold standard for drawer construction because drawers are constantly pulled open under load.
Tools Needed
- Dovetail saw
- Marking gauge
- Coping saw or fret saw
- Sharp chisels (1/4” and 1/2”)
- Bevel gauge or dovetail marker
- Mallet
Shortcut option: A dovetail jig and router can produce consistent dovetails much faster than hand-cutting, though many woodworkers prefer the character of hand-cut dovetails.
Which Joint Should I Use? Quick Decision Guide
| Situation | Recommended Joint |
|---|---|
| Quick utility project | Butt joint with screws |
| Cabinet face frame | Pocket hole |
| Edge-gluing boards into a panel | Dowel or biscuit (or just glue) |
| Bookshelf shelves | Dado |
| Cabinet back panel | Rabbet |
| Table legs to apron | Mortise and tenon |
| Drawer construction | Dovetail (or pocket hole for quick builds) |
| Decorative box corners | Dovetail |
The Learning Path
Don’t try to learn all eight joints at once. Here’s a practical progression:
- Start with butt joints and pocket holes. Build some utility projects and get comfortable with the basics of squaring, measuring, and assembly.
- Add dowels and dadoes. These expand your capabilities to bookshelves and cabinets without requiring advanced hand skills.
- Learn rabbets and biscuits. These refine your work — cleaner backs on cabinets, better-aligned panels.
- Tackle mortise and tenon. This is your gateway to serious furniture making. Start with a simple table or stool.
- Graduate to dovetails. This is the summit for most hobbyists. Start with practice joints in soft pine before committing to a project in expensive hardwood.
Final Thoughts
Every one of these joints has been used for centuries (except pocket holes — Kreg invented those). They endure because they work. The key insight for beginners is that the “best” joint isn’t always the most complex one. A pocket-hole bookshelf that gets built is better than a dovetailed bookshelf that stays in your head because you’re intimidated by the joinery.
Start simple, build real projects, and add more complex joints to your repertoire as your skills and confidence grow. The joints are the vocabulary of woodworking — the more you know, the more you can say.